

Are you tired of your photos not quite capturing the essence of the moment due to distracting or unsuitable backgrounds? The good news is that you can now learn how to edit a photo background without quality loss. In this comprehensive guide, we will walk you through step-by-step instructions, expert tips, and valuable insights to help you master the art of background editing. Whether you’re a professional photographer or a hobbyist, these techniques will empower you to create stunning visuals that truly stand out.
Introduction: Elevate Your Photos with Seamless Background Editing
Photography is more than just capturing a moment; it’s about creating an emotional connection through visuals. However, there are times when the background can detract from the main subject. Learning how to edit a photo background without compromising quality is a crucial skill for anyone looking to enhance their photography. In this guide, we’ll cover various methods, tools, and tips that will enable you to seamlessly edit photo backgrounds while maintaining the integrity and clarity of your images. Let’s dive in!

How To Edit a Photo Background Without Quality Loss
Editing a photo background without sacrificing quality requires a combination of technical expertise and creativity. Here’s a step-by-step breakdown of the process:
Selecting the Right Editing Software
Choosing the appropriate editing software is the first step towards achieving quality background editing. Popular choices include Adobe Photoshop, GIMP, and Canva. These tools provide a range of features that allow you to precisely edit backgrounds with minimal loss of quality.
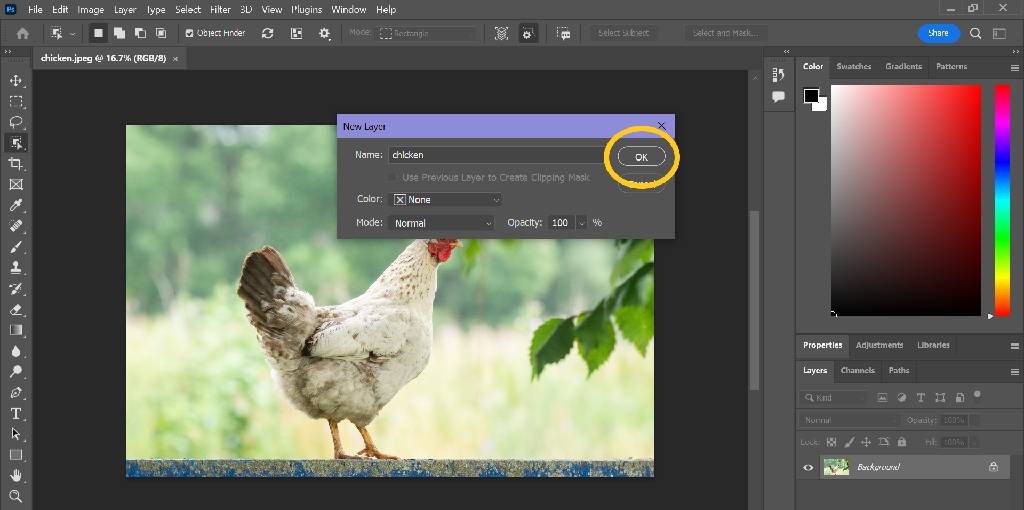
Making a Copy of the Original Image
Before you start editing, always create a duplicate of the original image. This ensures that you have a backup in case anything goes wrong during the editing process.

Utilize the Magic Wand Tool for Precise Selections
The Magic Wand tool is a powerful asset for selecting the background you want to edit. Adjust the tool’s tolerance level to ensure accurate selections without affecting the main subject.
Refine Edges for Realistic Outlines
To ensure a natural transition between the subject and the new background, use the “Refine Edges” tool to smooth the edges and add subtle feathering.
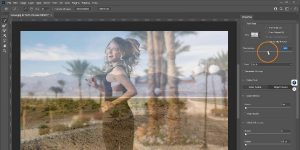
Experiment with Layer Masks
Layer masks are invaluable when it comes to non-destructive background editing. They allow you to hide or reveal parts of the image seamlessly, giving you full control over the editing process.
Leverage the Pen Tool for Precision
For complex backgrounds or subjects with intricate details, the Pen tool can be your best friend. Use it to create precise paths and selections for a polished result.
Pay Attention to Lighting and Shadows
To make the edited image look realistic, ensure that the lighting and shadows of the subject match the new background. Adjust the levels, hues, and saturation as needed.
Choose High-Quality Replacement Backgrounds
When selecting a new background, opt for high-resolution images that complement the subject. The background should enhance the overall composition without overshadowing the main focus.
Fine-Tune Colors and Saturation
Harmonize the colors of the subject and the background by adjusting the color balance, saturation, and vibrancy. This step contributes to a cohesive and visually pleasing final image.
Apply Filters for Cohesion
Applying subtle filters to both the subject and the background can help create a unified look. Experiment with filters like Gaussian blur or vignettes to enhance the overall atmosphere.
Mastering Background Editing: FAQs
Can I Edit the Background of a Photo Without Losing Quality?
Absolutely! By following the techniques outlined in this guide, you can edit photo backgrounds while preserving the image’s quality and clarity.
What is the Best Software for Background Editing?
Adobe Photoshop is widely regarded as one of the best software options for background editing due to its comprehensive features and advanced tools.
How Do I Ensure a Natural Transition Between the Subject and the New Background?
Utilize tools like layer masks and refine edges to achieve seamless and realistic transitions in your edited images.
Are there any shortcuts for precise selections?
Yes, the Pen tool is a fantastic shortcut for creating accurate selections, especially for subjects with intricate details.
Can I Use Filters to Enhance the Edited Image?
Certainly! Filters like Gaussian blur and vignettes can be applied to add depth and cohesion to your final image.
Should I Consider Lighting When Editing the Background?
Absolutely. Matching the lighting and shadows of the subject and the background is essential for a convincing and visually appealing result.
Conclusion: Elevate Your Photography with Seamless Background Editing
Editing a photo background without compromising quality is a skill that can truly elevate your photography game. With the right techniques and tools at your disposal, you can create images that capture the essence of the moment while showcasing your creativity.
Remember to practice, experiment, and explore different approaches to find what works best for your unique style. By mastering the art of background editing, you’ll unlock a world of creative possibilities and take your photography to new heights. We have explored how to edit a photo background without quality loss.