

Introduction
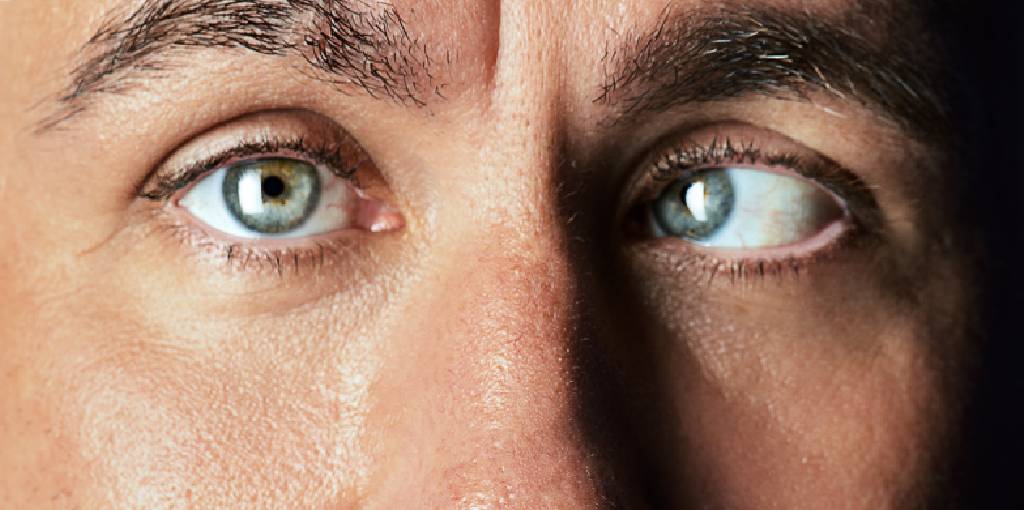
In this digital era, photo editing has become an essential part of our lives. One common problem that can arise in pictures is the presence of a lazy eye, which can diminish the overall quality of an image. Fortunately, Adobe Photoshop provides a powerful solution for correcting this issue. With a few simple steps, you can transform a photo with a lazy eye into a visually appealing masterpiece. We are going to explore how to fix lazy eye in pictures.

Understanding the Lazy Eye Phenomenon
A lazy eye, also known as strabismus, occurs when one eye deviates from its normal alignment with the other eye. This misalignment can cause the affected eye to appear in a different direction, resulting in an imbalanced look in photographs. Photoshop allows us to rectify this problem by adjusting the position of the affected eye.
How to Fix Lazy Eye in Picture
This article is about fix lazy eye in photos only. Fixing a lazy eye in pictures can be achieved through photo editing software. Here’s a step-by-step guide on how to fix a lazy eye using common photo editing tools like Adobe Photoshop.
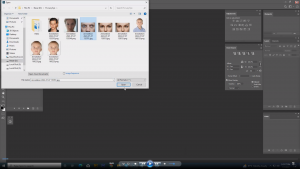
Step 1: Opening the Image in Photoshop
To begin, launch Adobe Photoshop and open the image you want to work on. Navigate to the “File” menu and select “Open.” Browse your files and choose the photo with the lazy eye. Once opened, you will see the image displayed in the Photoshop workspace.
Step 2: Duplicating the Background Layer
To preserve the original image, it’s important to create a duplicate layer before making any modifications. Right-click on the background layer in the Layers panel and select “Duplicate Layer.” This will create a new layer that you can work on while keeping the original image intact.
Step 3: Selecting the Affected Eye
Using the selection tools in Photoshop, carefully select the affected eye. You can use the Elliptical Marquee Tool or the Polygonal Lasso Tool, depending on the shape of the eye and the level of precision required. Ensure that the selection is accurate and encompasses the entire eye.
Step 4: Adjusting the Eye Position
With the affected eye selected, go to the “Edit” menu and choose “Transform” followed by “Warp.” This will enable you to manipulate the eye’s position and correct its alignment. Click and drag the anchor points to adjust the eye until it aligns naturally with the other eye.

Step 5: Refining the Eye With Brush Tool
To blend the corrected eye seamlessly with the rest of the image, select the Brush Tool from the toolbar. Choose a soft brush with an appropriate size and opacity. Carefully paint over the edges of the eye, blending it with the surrounding areas. Use a gentle touch and take your time to achieve a natural appearance.
Step 6: Blending the Edges
To ensure a realistic result, it’s important to blend the edges of the corrected eye. Select the Smudge Tool from the toolbar and set its strength to a low value. Gently smudge the edges of the eye, blending them with the adjacent pixels. This will help eliminate any sharp transitions and create a seamless integration.
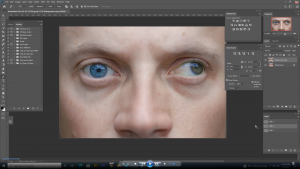
Step 7: Final Touches and Enhancements
Once you are satisfied with the corrected eye, take some time to enhance the overall image. You can adjust the brightness, contrast, and colors to make the photo more visually appealing. Experiment with different tools and filters to achieve the desired effect. Remember to save your work regularly to avoid losing any changes.
FAQ
How Long Does It Take to Fix a Lazy Eye in Photoshop?
Fixing a lazy eye in Photoshop can vary in time depending on the complexity of the image and your familiarity with the software. With practice, you can accomplish it within a few minutes.
Can I Fix a Lazy Eye in a Group Photo?
Yes, you can fix a lazy eye in a group photo using the same techniques described in this article. Ensure that you select the appropriate eye and make adjustments accordingly.
Are There Any Alternative Software Options to Fix a Lazy Eye?
While Photoshop is widely regarded as the industry standard for photo editing, there are alternative software options available. Some popular choices include GIMP, Corel Paints hop Pro, and Affinity Photo.
What Other Common Photo Editing Tasks Can I Perform in Photoshop?
Photoshop offers a wide range of tools and features for various photo editing tasks. You can retouch skin imperfections, adjust exposure and color balance, remove unwanted objects, and create stunning visual effects.
How Can I Prevent a Lazy Eye From Occurring in Future Photos?
To prevent a lazy eye from appearing in future photos, ensure that your subject maintains proper eye alignment during the photo shoot. Communicate with the person being photographed and guide them to look directly at the camera with both eyes open.
Conclusion
Fixing a lazy eye in Photoshop is a straightforward process that can greatly improve the appearance of your photographs. By following the steps outlined in this article, you can correct the misalignment and create a captivating image. Remember to practice and experiment with different techniques to refine your skills in photo editing. We have explored how to fix lazy eye in pictures. Thanks for reading.
To know about more editing services you can check – Clipping Amazon