

Introduction
Photoshop is widely known for its image editing capabilities, but it also offers various tools for animation. Onion skin is one such feature that helps artists and animators visualize and adjust frames or layers more efficiently. By understanding how to turn on onion skin in Photoshop, you can enhance your creative workflow and create captivating animations.
Understanding Onion Skin Options
When you enable Onion Skins in Photoshop, you gain access to a range of options that allow you to control and adjust the visual representation of your animation frames. Let’s take a closer look at these Onion Skin options:
Onion Skin Range
The Onion Skin Range determines the number of frames that are visible before and after the current frame. By adjusting this setting, you can control the extent of the onion skin effect. For instance, setting the range to “2” will display two frames before and two frames after the current frame.
Onion Skin Opacity
The Onion Skin Opacity controls the transparency of the onion skin frames. You can modify this setting to make the onion skin frames more or less transparent, depending on your preference. Increasing the opacity enhances the visibility of the onion skin frames, while decreasing it makes them more translucent.
Onion Skin Tint
The Onion Skin Tint option allows you to apply a color tint to the onion skin frames. This feature can be particularly useful when working with complex animations or when you need to differentiate between frames more easily. By assigning a specific color to the onion skin frames, you can distinguish them from the current frame and the rest of the animation.
Benefits of Using Onion Skin
Using onion skin in Photoshop offers several benefits:
- Visualize Transitions: Onion skin allows you to see how your animation evolves from frame to frame, enabling you to create smooth transitions.
- Maintain Consistency: By comparing frames or layers, you can ensure consistency in your animation, resulting in a more polished final product.
- Precise Adjustments: Onion skin assists in making precise adjustments by providing a reference to adjacent frames or layers.
Now that you understand the benefits, let’s dive into the step-by-step process of turning on onion skin in Photoshop.
How to Turn On Onion Skin in Photoshop
To turn on the Onion Skin feature in Adobe Photoshop, follow these steps:
Step 1: Opening the Animation Timeline
Before enabling onion skin, you need to open the Animation Timeline in Photoshop. To do this, follow these steps:
- Launch Photoshop on your computer.
- Open the image or project you want to work on.
- Go to the “Window” option in the menu bar and choose “Timeline.”
- The Animation Timeline panel will appear at the bottom of the Photoshop interface.
Step 2: Creating Multiple Frames or Layers
To utilize onion skin, you need to have multiple frames or layers in your project. Here’s how you can create them:
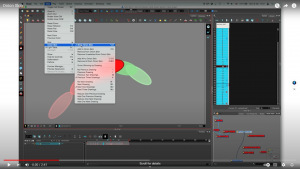
- In the Animation Timeline panel, click on the menu icon (three horizontal lines) and select “Make Frames From Layers” or “Convert to Frame Animation,” depending on your project setup.
- If you already have multiple layers, skip this step.
Step 3: Enabling Onion Skin
Once you have the Animation Timeline and multiple frames or layers set up, it’s time to enable onion skin:
- In the Animation Timeline panel, locate the onion skin icon (represented by three overlapping circles).
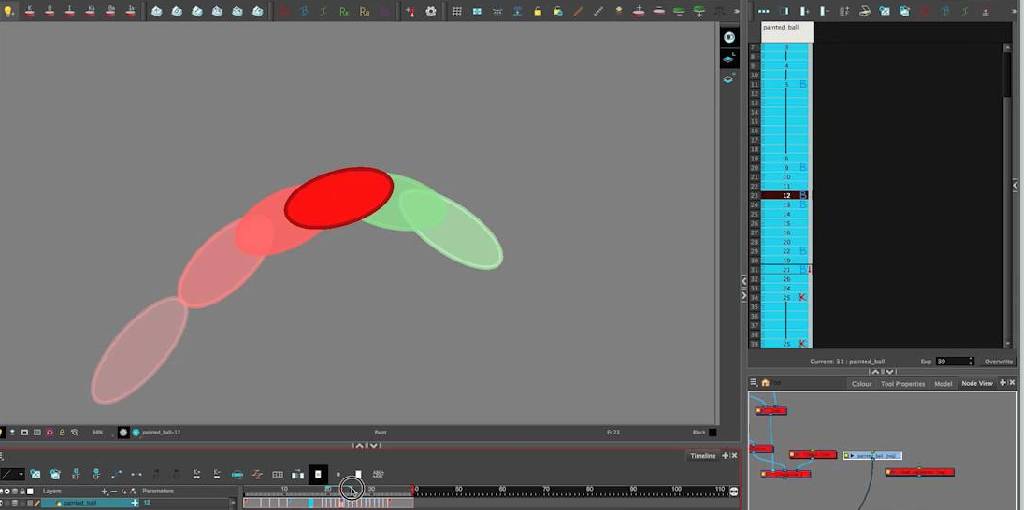
- Click on the icon to enable onion skin. You will notice a ghostly overlay effect on the canvas.
Step 4: Adjusting Onion Skin Settings
Photoshop allows you to adjust the onion skin settings according to your preference. Here’s how you can do it:
- In the Animation Timeline panel, click on the onion skin icon again to access the onion skin settings.
- A dialog box will appear, providing various options to customize the onion skin effect.
- Adjust the opacity, number of frames displayed, and other settings as desired.
- Experiment with different settings to find the configuration that works best for your project.
Step 5: Using Onion Skin to Create Animations
With onion skin enabled and the settings adjusted, you can now utilize this feature to create animations:
- Select the frame or layer you want to work on in the Animation Timeline panel.
- Make adjustments to the selected frame while referring to the ghosted images displayed by onion skin.
- Repeat the process for each frame or layer, creating smooth transitions between them.
Step 6: Making Precise Adjustments with Onion Skin
Onion skin also aids in making precise adjustments to frames or layers. Here’s how you can utilize this feature for fine-tuning:
- Enable onion skin and select the frame or layer you want to adjust.
- Analyze the ghosted images surrounding the selected frame to understand the context.
- Make subtle changes or modifications to achieve the desired outcome.
Troubleshooting Common Issues
While using onion skin in Photoshop, you may encounter some common issues. Here are a few troubleshooting tips:
- Limited Ghosting: If the ghosted images are not visible or too faint, try adjusting the opacity settings in the onion skin dialog box.
- Incorrect Frame Order: Ensure that the frames or layers are arranged correctly in the Animation Timeline to maintain the desired sequence.
- Performance Issues: If you experience performance issues while using onion skin, consider reducing the number of frames displayed or adjusting other settings to optimize performance.
FAQs (Frequently Asked Questions)
Can I Use the Onion Skin Feature in Photoshop for Frame-by-frame Animation?
Yes, absolutely! The Onion Skin feature in Photoshop is specifically designed to enhance frame-by-frame animation. It provides a visual reference to previous and upcoming frames, allowing you to create smooth and seamless animations.
Is the Onion Skin Tool Available in All Versions of Photoshop?
Yes, the Onion Skin tool is available in most recent versions of Adobe Photoshop, including Photoshop CC and later. However, it is always recommended to ensure that you are using the latest version of Photoshop to access all the latest features and improvements.
Can I Customize the Appearance of the Onion Skin Frames?
Certainly! Photoshop allows you to adjust the Onion Skin Range, Opacity, and Tint to customize the appearance of the onion skin frames. This flexibility enables you to personalize the visual representation according to your preferences and specific project requirements.
Are There Any Keyboard Shortcuts for Enabling or Disabling the Onion Skin Feature?
Yes, there are keyboard shortcuts available for enabling and disabling the Onion Skin feature in Photoshop. By default, the shortcut for enabling Onion Skins is “Shift + Alt + O” on Windows and “Shift + Option + O” on macOS. To disable Onion Skins, you can use the same shortcut again.
Can I Animate Using the Onion Skin Feature Without Using the Timeline?
Unfortunately, the Onion Skin feature in Photoshop is closely integrated with the animation timeline. To utilize the full functionality of Onion Skins, it is recommended to work within the animation timeline and take advantage of its powerful features.
Are There Any Additional Resources or Tutorials Available for Learning Animation in Photoshop?
Absolutely! There are numerous online resources, tutorials, and communities dedicated to teaching animation techniques in Photoshop. Websites like Adobe’s official support page, YouTube channels, and specialized animation forums can provide valuable insights and guidance to help you master animation in Photoshop.
Conclusion
Enabling onion skin in Photoshop is a valuable technique for animators and designers looking to create smooth transitions and make precise adjustments. By following the step-by-step guide outlined in this article, you can effectively utilize this feature and enhance your creative projects.
You may read also – How to Fix Lazy Eye in Pictures