

Introduction
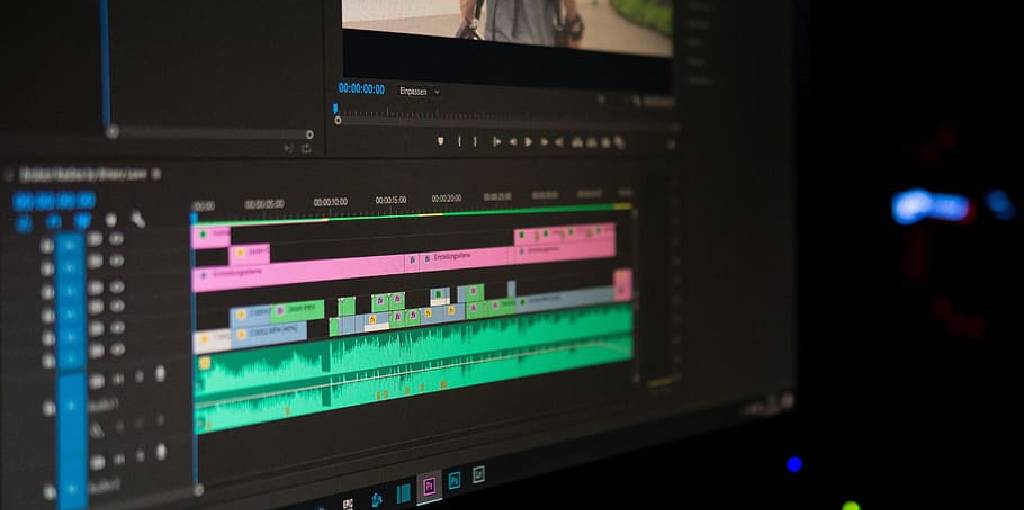
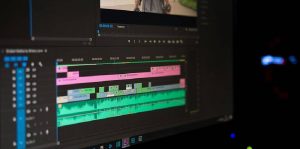
In today’s digital age, video editing has become an essential skill for content creators, marketers, and enthusiasts alike. One popular technique that can add a unique touch to your videos is the ability to reverse them. Whether you want to create a captivating visual effect or tell a story in reverse, knowing how to reverse video in Photoshop can come in handy.
In this comprehensive guide, we will walk you through the process step-by-step, ensuring that you have all the necessary knowledge and tools to accomplish this task successfully.
How to Reverse Video in Photoshop
Reversing a video in Photoshop may seem like a complex task, but with the right guidance, it becomes straightforward. Here’s a breakdown of the steps you need to follow:
Step 1: Importing the Video
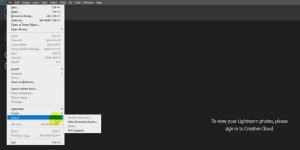
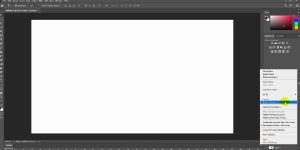
To get started, launch Adobe Photoshop on your computer. Then, go to the “File” menu and select “Import” followed by “Video Frames to Layers.” Choose the video file you wish to reverse and click “Open.” Photoshop will now convert the video into individual frames, allowing you to edit them more effectively.
Step 2: Reversing the Video
With the video frames imported as layers, navigate to the “Window” menu and choose “Timeline.” The timeline panel will appear at the bottom of the Photoshop workspace. Click on the “Create Video Timeline” button, and a timeline will be generated using the imported video frames.
To reverse the video, right-click on the timeline and select “Reverse Frames.” Photoshop will automatically reorder the frames, effectively reversing the video sequence.
Step 3: Previewing and Exporting
Now that your video is reversed, it’s time to preview the changes. Use the playback controls within the timeline panel to play the video and ensure that it looks as intended. If everything appears satisfactory, you can proceed to export the reversed video.
To export the video, go to the “File” menu and select “Export” followed by “Render Video.” Choose your desired file format, name the file, select the destination folder, and click “Render.” Photoshop will then export the reversed video based on your chosen settings.
Frequently Asked Questions
Can I Reverse a Video in Adobe Photoshop Elements?
No, Adobe Photoshop Elements does not include the necessary features to reverse a video. You will need the full version of Adobe Photoshop to perform this task.
Does Reversing a Video Affect Its Quality?
Reversing a video in Photoshop does not inherently affect its quality. However, keep in mind that repeatedly saving a video in lossy formats or compressing it too much can lead to a decrease in quality over time. It’s recommended to work with high-quality source files and choose appropriate export settings to maintain the best possible video quality.
Can I Reverse Only a Portion of a Video in Photoshop?
Yes, you can reverse specific sections of a video in Photoshop. To do this, you need to split the video into multiple segments using the timeline panel. Then, you can reverse the desired segments individually, creating a customized reversed effect within your video.
Are There Any Alternative Software Options for Reversing Videos?
Yes, there are several alternative video editing software options that allow you to reverse videos. Some popular choices include Adobe Premiere Pro, Final Cut Pro, and iMovie. However, if you’re already familiar with Photoshop or prefer its interface, it can be a convenient solution for reversing videos without the need for additional software.
Can I Apply Other Effects to the Reversed Video in Photoshop?
Absolutely! Photoshop offers a wide range of effects and editing capabilities that can be applied to the reversed video. From color grading and filters to text overlays and motion graphics, you have the creative freedom to enhance your video further and make it truly stand out.
Is There a Limit to the Video Length I Can Reverse in Photoshop?
The length of the video you can reverse in Photoshop depends on the specifications of your computer. Reversing longer videos may require more system resources and processing power. If you encounter performance issues, consider working with shorter segments or upgrading your hardware for smoother editing.
Conclusion
Mastering the art of video editing opens up endless possibilities for expressing your creativity. Being able to reverse a video in Photoshop adds another dimension to your editing repertoire, allowing you to captivate your audience with unique and visually stunning content. By following the step-by-step guide provided in this article, you can confidently reverse videos in Photoshop and unlock a whole new world of creative possibilities.
Remember, practice makes perfect. Don’t be afraid to experiment, try different effects, and explore the vast array of options Photoshop offers. We have explored how to reverse video in Photoshop.
You may read also – How to Make Doodle in Photoshop