Introduction
Photoshop cs5 is a powerful tool for graphic designers and photographers, and one of its essential features is the Background Eraser Tool. This tool allows you to easily remove backgrounds from images, isolating subjects and creating stunning visuals.

Whether you’re a professional designer or a hobbyist, mastering this tool can significantly enhance your creative capabilities. In this comprehensive guide, we’ll walk you through the step-by-step process of how to use the background eraser tool in photoshop cs5. Get ready to unlock your creativity and produce captivating images!
How to Use the Background Eraser Tool in Photoshop cs5
The Background Eraser Tool is a versatile feature that lets you precisely erase unwanted backgrounds from your images. Here’s a detailed explanation of how to use it effectively:
Opening Your Image in Photoshop cs5
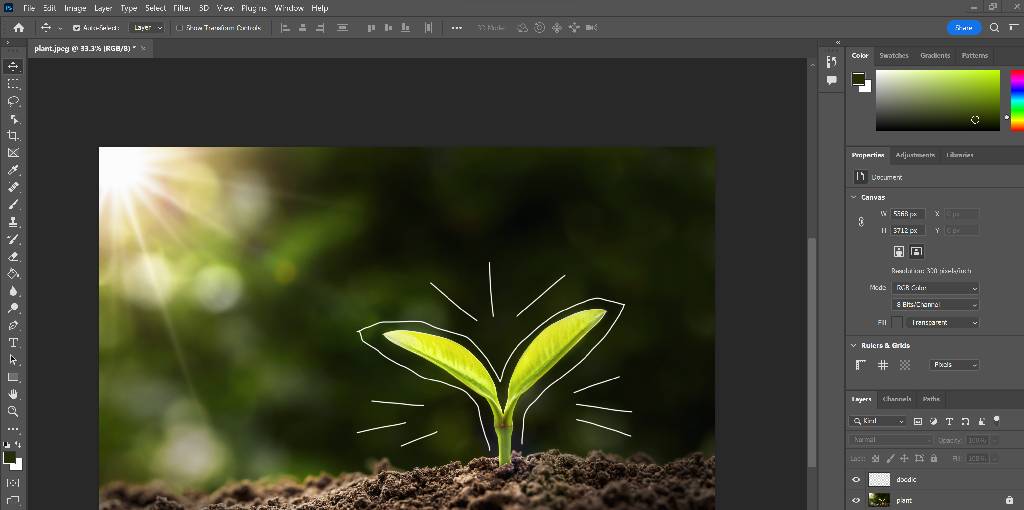
Before you can start using the Background Eraser Tool, you need to open your image in Photoshop cs5. To do this, follow these simple steps:
- Launch Photoshop cs5 on your computer.
- Click on “File” in the top menu and select “Open.”
- Navigate to the location where your image is saved and click “Open.”
Duplicating the Background Layer
It’s always a good practice to work on a duplicate layer to preserve the original image. Here’s how to create a duplicate layer:
- In the “Layers” panel, right-click on the Background layer.
- Select “Duplicate Layer” from the drop-down menu.
- Click “OK” to create the duplicate layer.
Selecting the Background Eraser Tool
Now that you have your image ready, it’s time to select the Background Eraser Tool:
- Look for the eraser icon in the left-hand toolbar or press “E” on your keyboard.
- Right-click on the Eraser Tool icon to reveal a fly-out menu and select “Background Eraser Tool.”

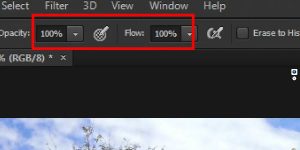
Adjusting the Tool Settings
To get the best results, you need to adjust the tool settings according to your image’s characteristics:
- Brush Size: Use a larger brush for larger areas and a smaller brush for more intricate details.
- Hardness: For softer edges, reduce the hardness value; for crisp edges, increase it.
- Sampling: Choose “Continuous” for a smooth transition or “Once” for a defined sampling area.
- Limits: Select “Discontiguous” to erase all similar pixels, or “Contiguous” to erase only adjacent pixels.

Removing the Background
With the tool settings adjusted, you can now start removing the background:
- Position the eraser tool on the edge of the subject.
- Click and hold the left mouse button while dragging the tool over the background area.
- As you drag, the background will be erased, revealing a checkerboard pattern, indicating transparency.
Refining Edges (Optional)
After erasing the background, you may notice some rough edges around the subject. To refine the edges:
- Select the “Erase Refinements” tool from the options bar.
- Carefully erase any unwanted pixels around the subject to improve the selection.
Saving Your Image
Once you’re satisfied with the background removal, it’s time to save your edited image:
- Click on “File” in the top menu and select “Save As.”
- Choose the file format and location for your image and click “Save.”
Congratulations! You’ve successfully used the Background Eraser Tool to remove the background from your image.
Tips for a Flawless Background Removal
Removing backgrounds can be tricky, but with these expert tips, you’ll achieve flawless results:
- Use a High-Resolution Image: Higher resolution images provide more detail, making it easier to get precise selections.
- Zoom In for Accuracy: Zoom in on your image while using the Background Eraser Tool to ensure accurate selections, especially for intricate areas.
- Save Frequently: Save your progress regularly in case you need to backtrack.
- Experiment with Tool Settings: Don’t hesitate to experiment with the tool settings to find the perfect combination for your image.
- Refine with Layer Masks: If you need more control over the edges, consider using layer masks to touch up the selection.
- Avoid Over-Erasing: Be cautious not to over-erase and inadvertently delete important parts of your subject.
- Utilize Keyboard Shortcuts: Keyboard shortcuts can speed up your workflow and improve efficiency. Learn the essential shortcuts for the Background Eraser Tool.
FAQs
Can I Undo Mistakes After Saving the Image?
Yes, you can undo mistakes even after saving your image. As long as you’re working with layers, you can edit and modify your image anytime.
Is Photoshop cs5 Still Relevant Today?
While newer versions of Photoshop have been released, cs5 remains relevant for many users. It provides a robust set of features without overwhelming beginners.
Does the Background Eraser Tool Work on All Images?
The Background Eraser Tool works best on images with a well-defined subject and background contrast. For complex images, consider using other selection tools.
Can I Use the Background Eraser Tool on Multiple Layers?
Yes, you can use the Background Eraser Tool on multiple layers. However, it’s essential to be mindful of the layer order to avoid unwanted erasing.
Will Using the Background Eraser Tool Affect Image Quality?
When used correctly, the Background Eraser Tool won’t affect the image quality. Work on a duplicate layer to maintain the original image’s integrity.
Can I Use the Eraser Tool Instead of the Background Eraser Tool?
While you can use the Eraser Tool for basic erasing, the Background Eraser Tool offers more advanced options for precise background removal.
Conclusion
Mastering the Background Eraser Tool in Photoshop cs5 opens up a world of creative possibilities. With this powerful tool at your disposal, you can create stunning images, compelling visual content, and seamless designs. Remember to practice regularly and experiment with different settings to develop your skills further. Now go ahead and unleash your creativity with the Background Eraser Tool. We have explored how to use the background eraser tool in photoshop cs5.


